
Blog · Printing guides
How to turn an Anki deck into physical, double-sided flashcards
Before you start
Have your deck available in Anki on a computer, and a printer that is capable of double-sided printing.
Export the deck as an .apkg file
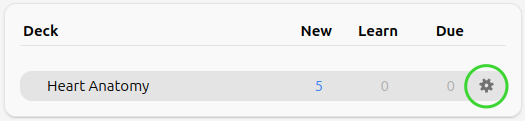
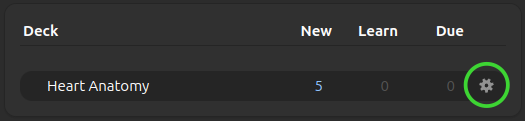
In your deck list in Anki, click the cog icon next to the deck you want to print, then select Export.
In the export dialog, keep Include media enabled if your notes contain images. Click Export… and save the .apkg file to your computer.
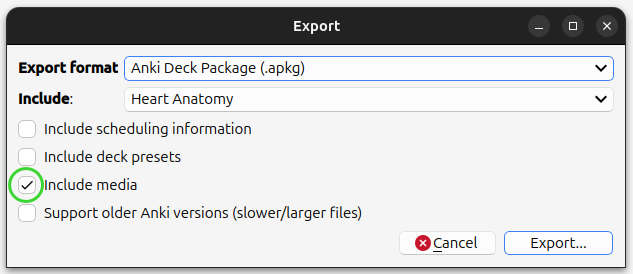
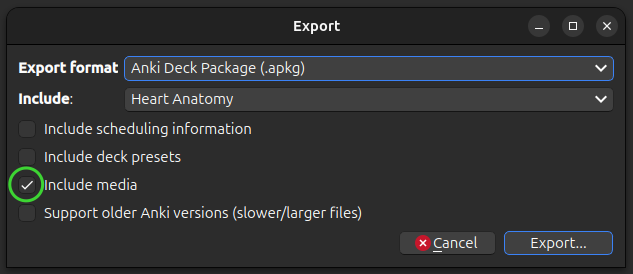
If importing fails later, re-export with Support older Anki versions enabled and try again.
Bring the deck into FlashcardPrinter
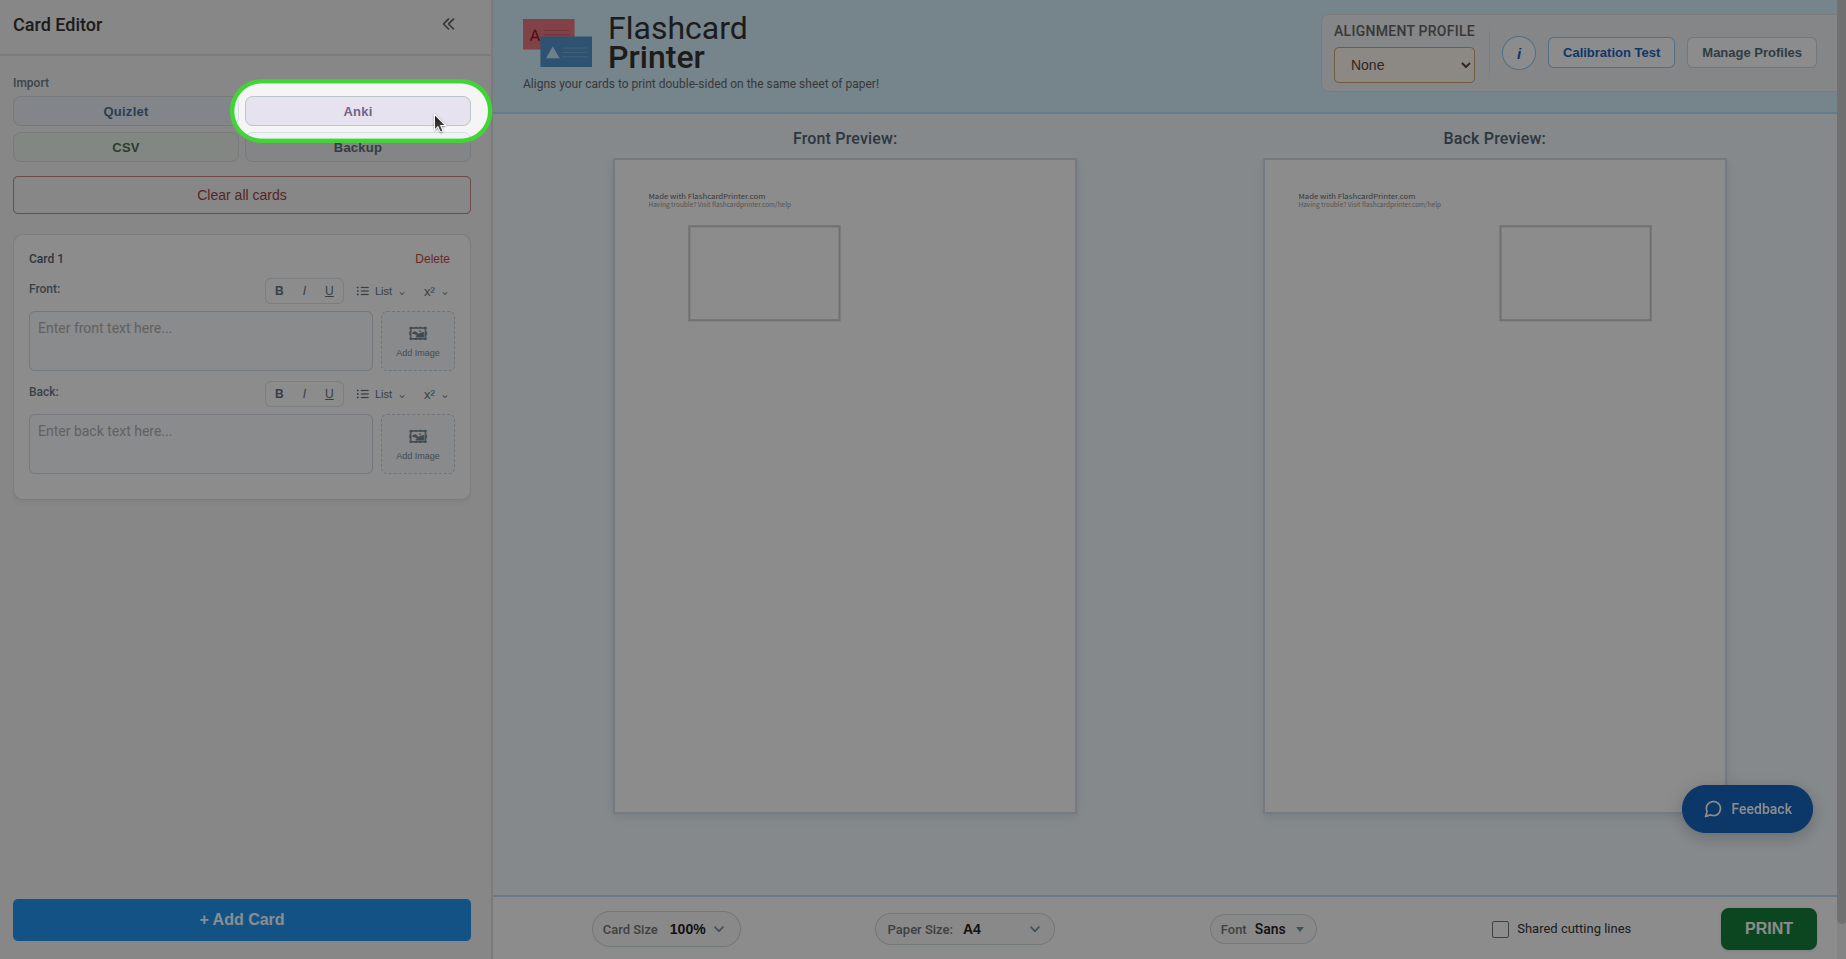
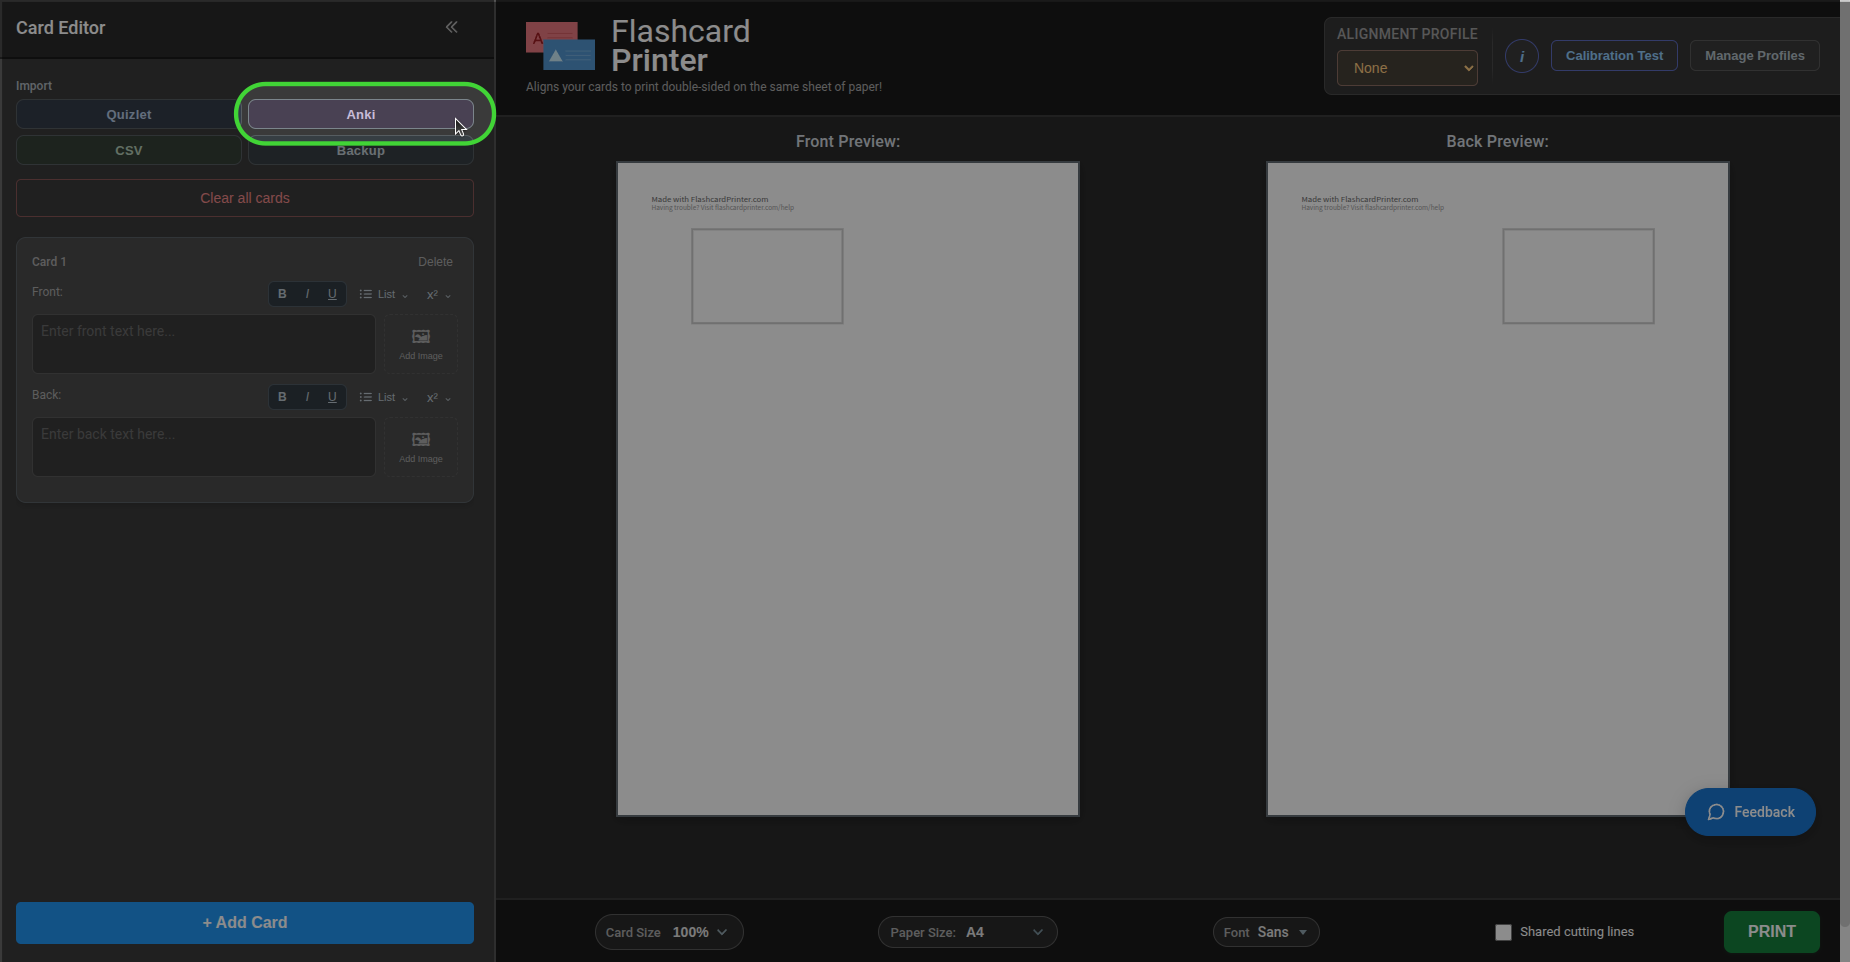
Open FlashcardPrinter and select Anki under Import at the top of the Card Editor. Choose your .apkg file, or drag it into the import box. The file is read in your browser.
Check both sides and choose your layout
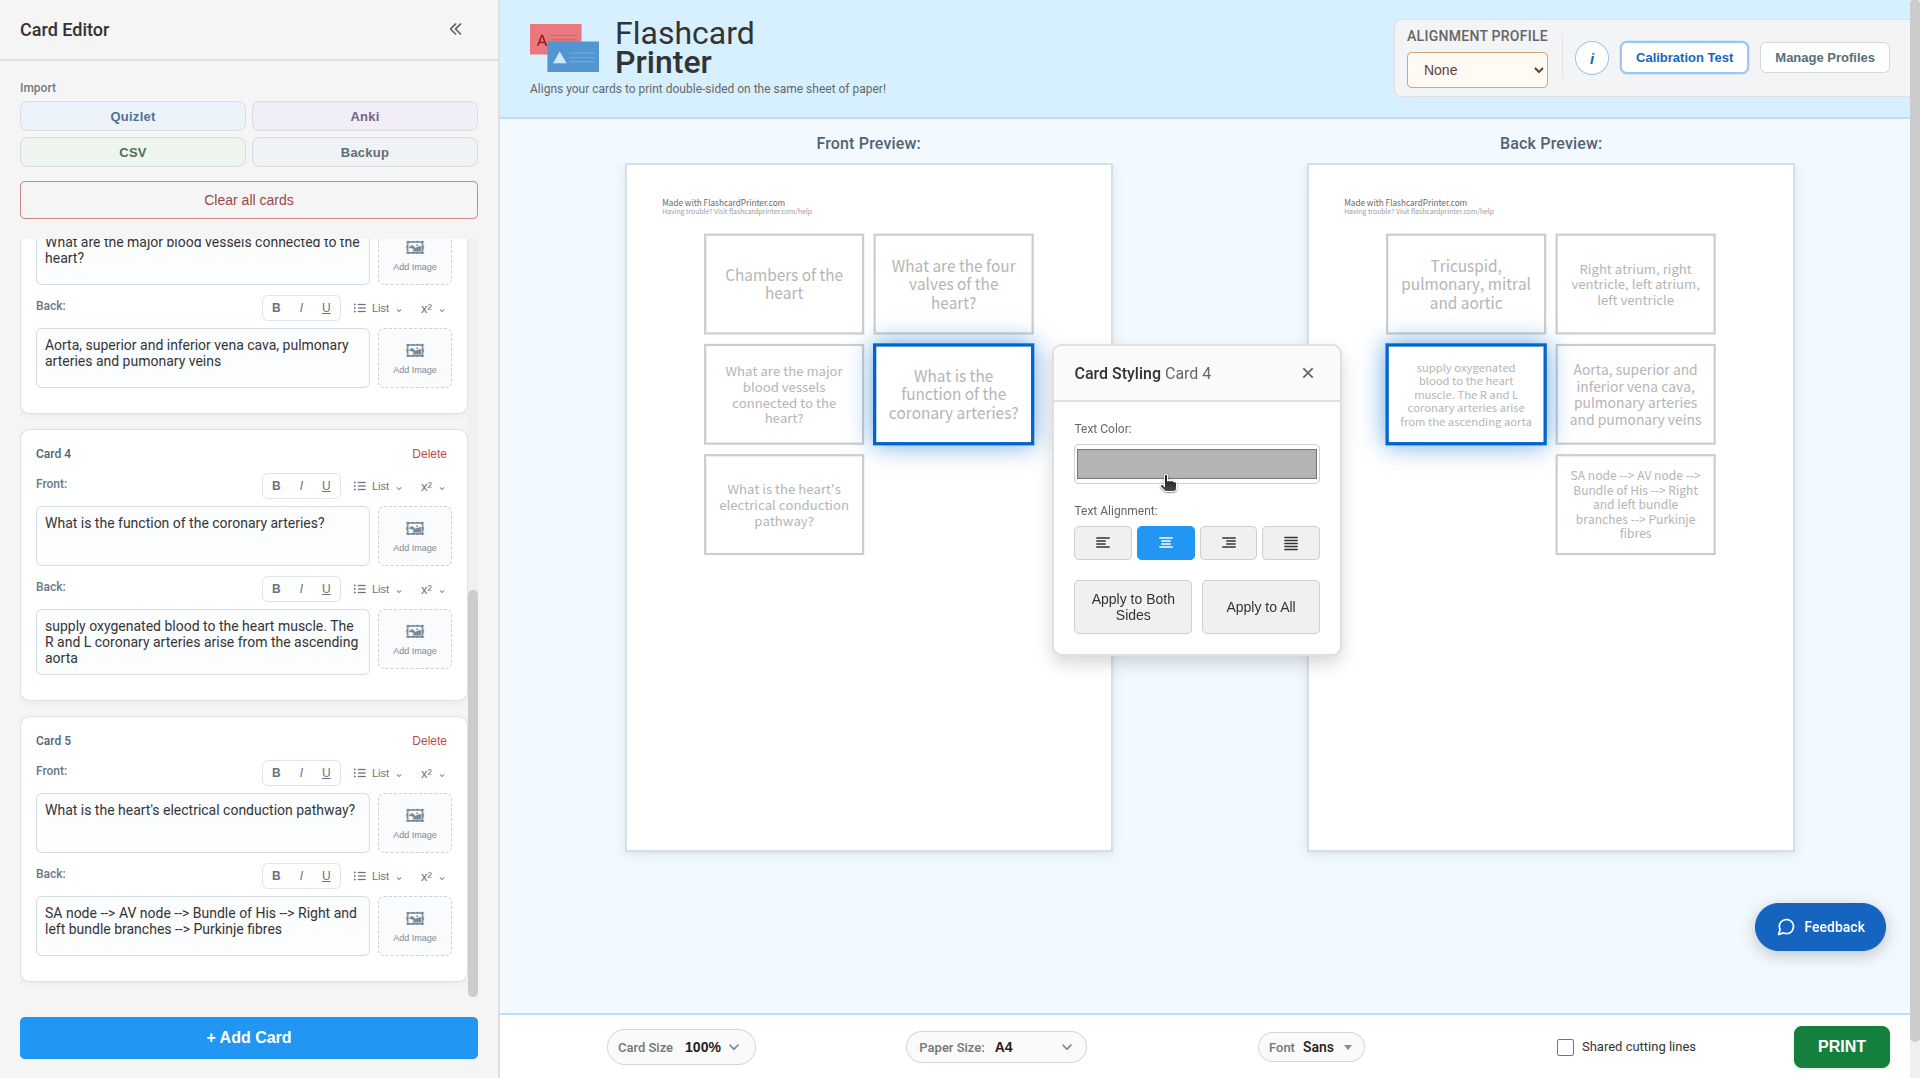
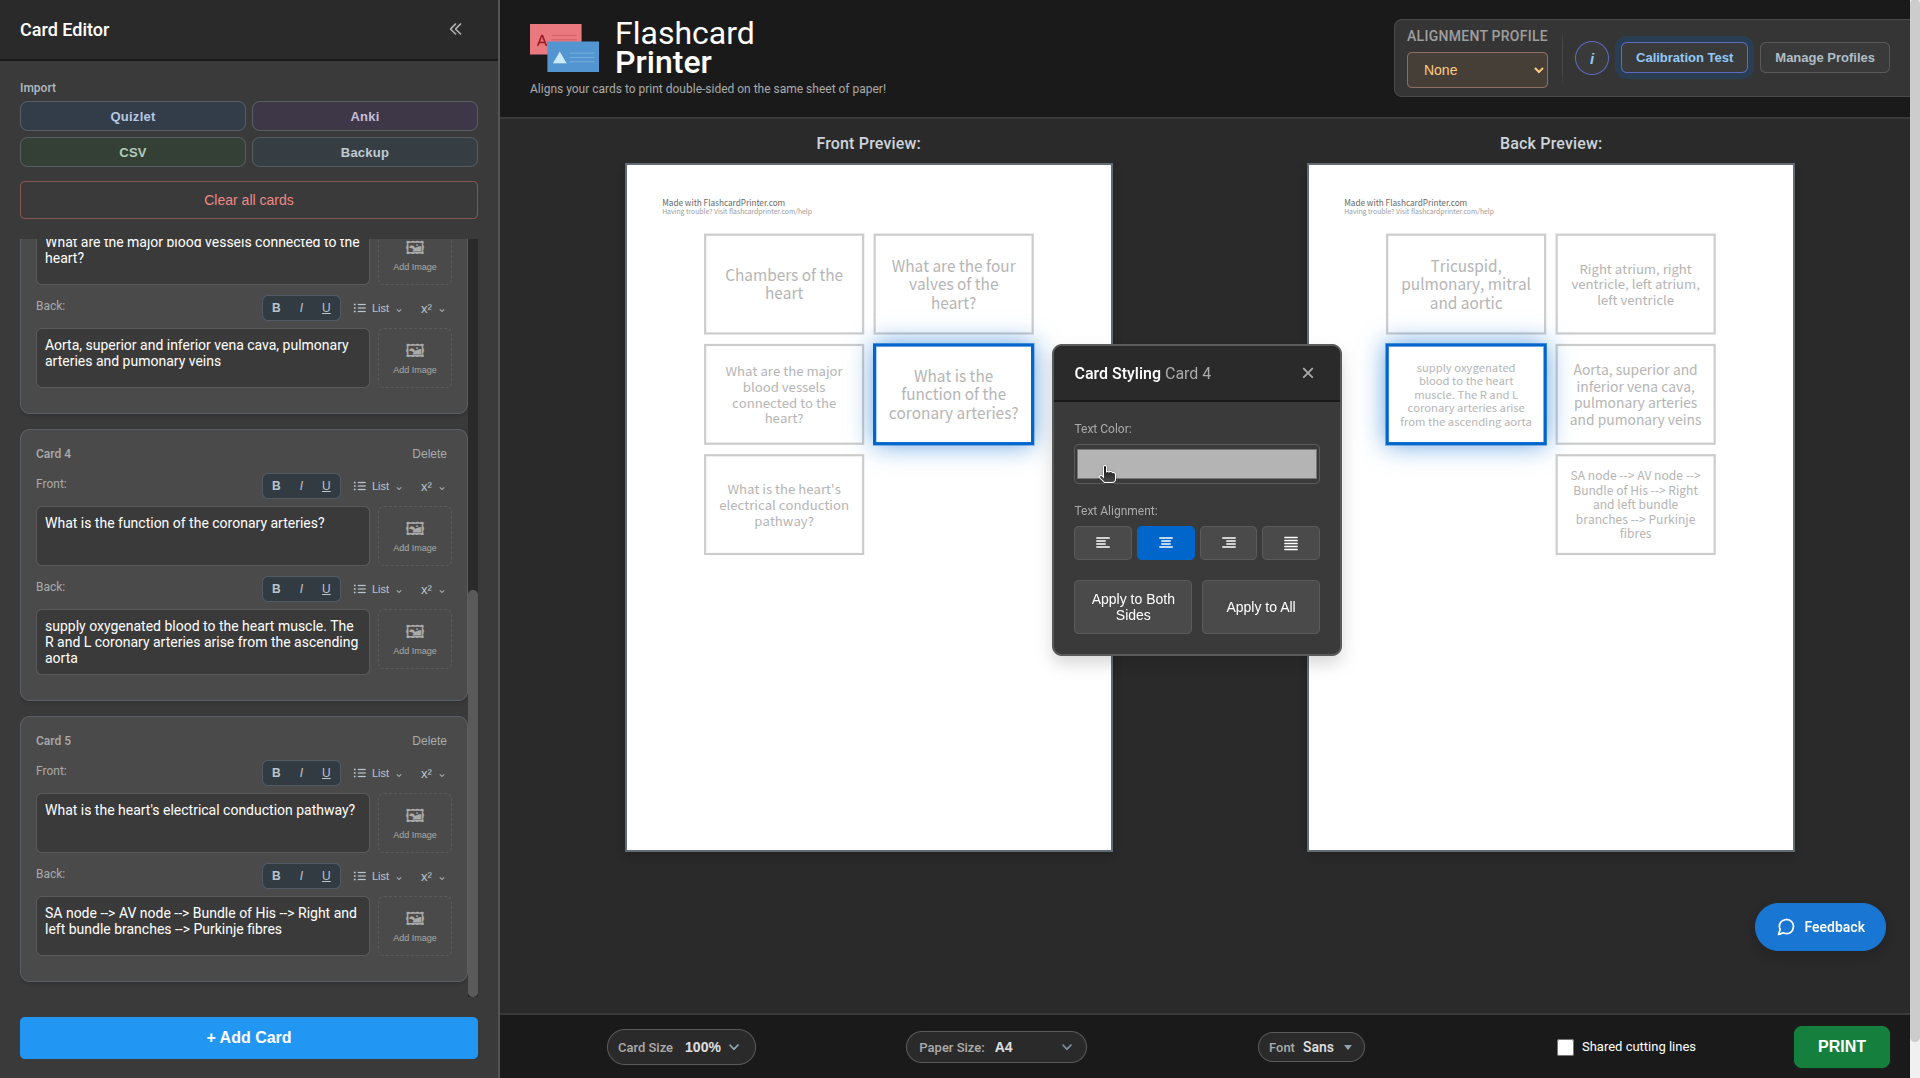
Check the preview pages and edit styling if desired. Choose Paper Size to match your paper, then adjust Card Size and Font as needed.
Fronts and backs use a mirrored arrangement for printing. Keep the generated page order and layout; do not manually rearrange the back page to match its on-screen position.
Save an alignment profile for your printer
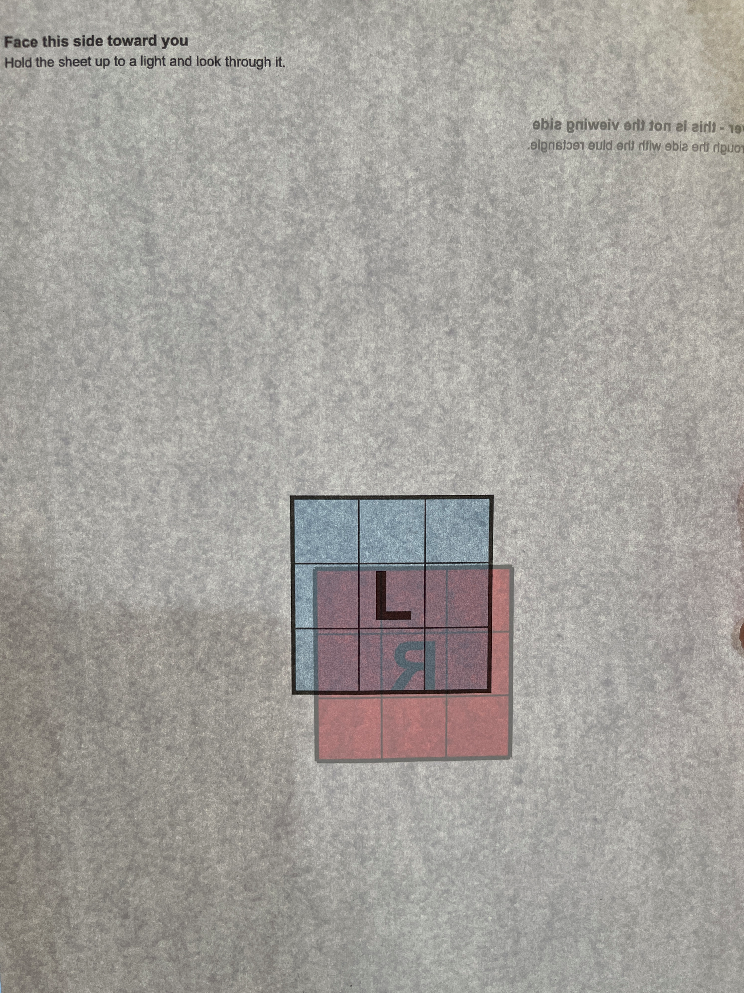
Choose Calibration Test, select the paper size, and choose Download Test Page. Print the test PDF at 100% / actual size, double-sided, with flip on long edge.
Select Next. Hold the printed sheet up to a light with the L side facing you. Adjust the on-screen red rectangle until its position relative to the blue grid matches what you see through the physical sheet.
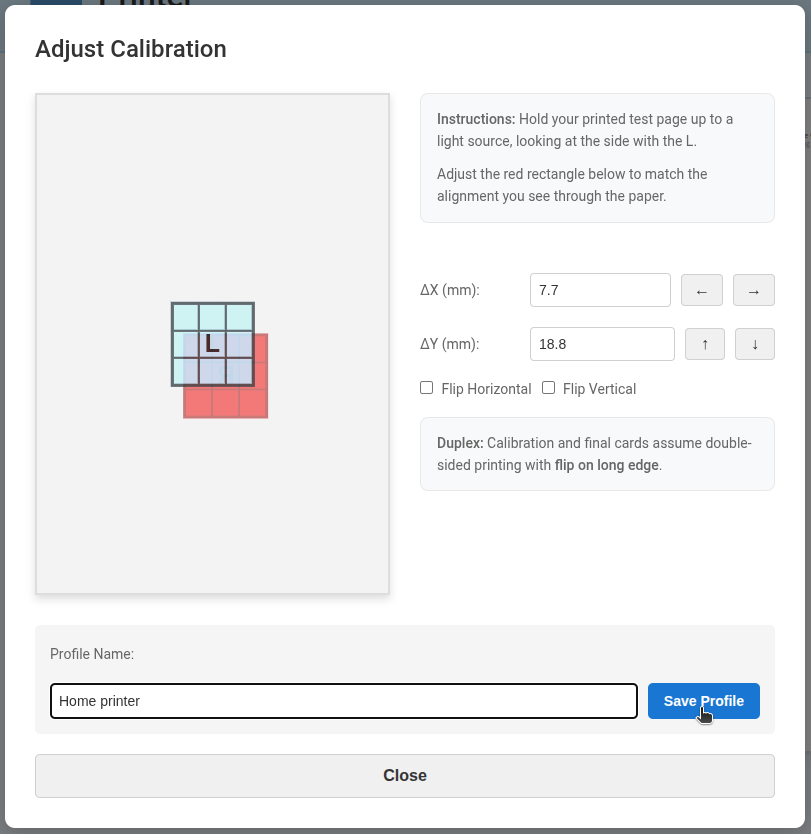
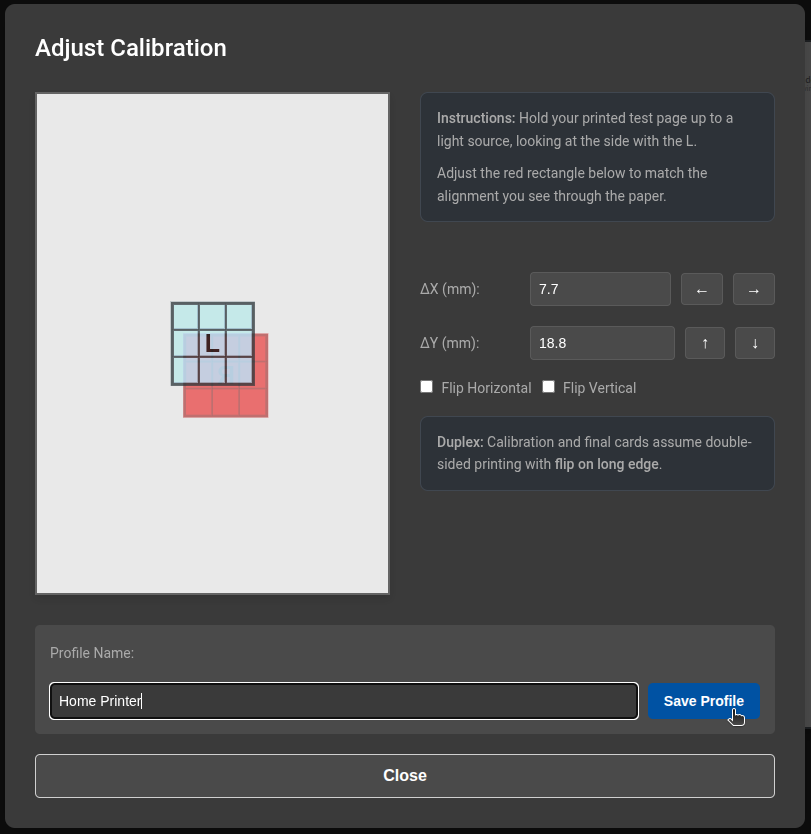
Save the profile and select it under Alignment profile. Keep the same printer, paper size, and print settings for your deck.
Test one sheet before printing the whole deck
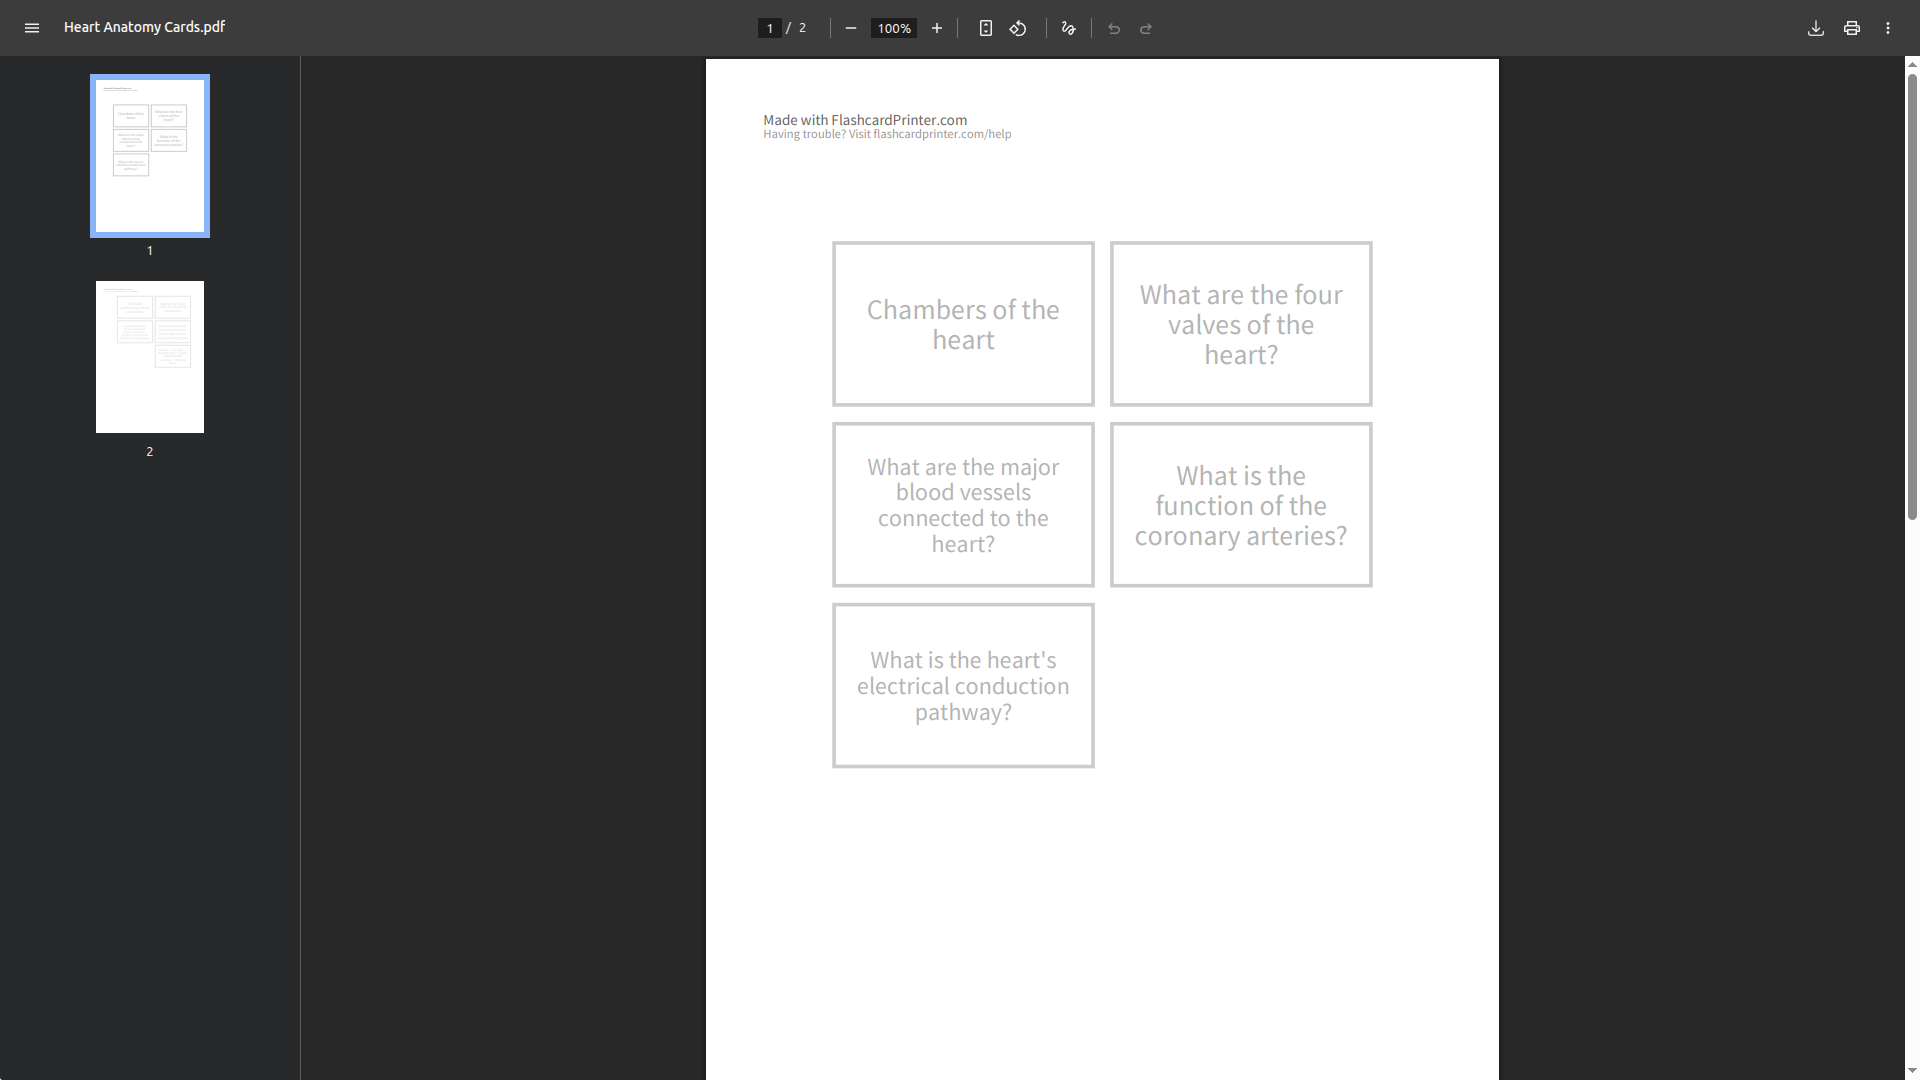
Choose PRINT → Download PDF, then open the PDF in your usual viewer. Alternatively, PRINT → Print opens a print-ready view; use the browser’s print controls there.
- Match the paper size used in FlashcardPrinter.
- Use 100% / actual size, with one PDF page per side of a sheet.
- Enable double-sided printing and flip on long edge.
- I recommend printing pages 1–2 as a test. Check the pairings and alignment, then print the remaining pages with the same settings.
If your printer needs manual duplexing, follow its own refeeding instructions and test a single sheet first. Once the result is right, cut along the card boundaries.
If the result needs adjusting
If the backs are upside down, check the long-edge flip setting. If alignment is off, confirm the paper size, scale, and selected profile, then repeat calibration if needed. The Help page has more printing guidance.